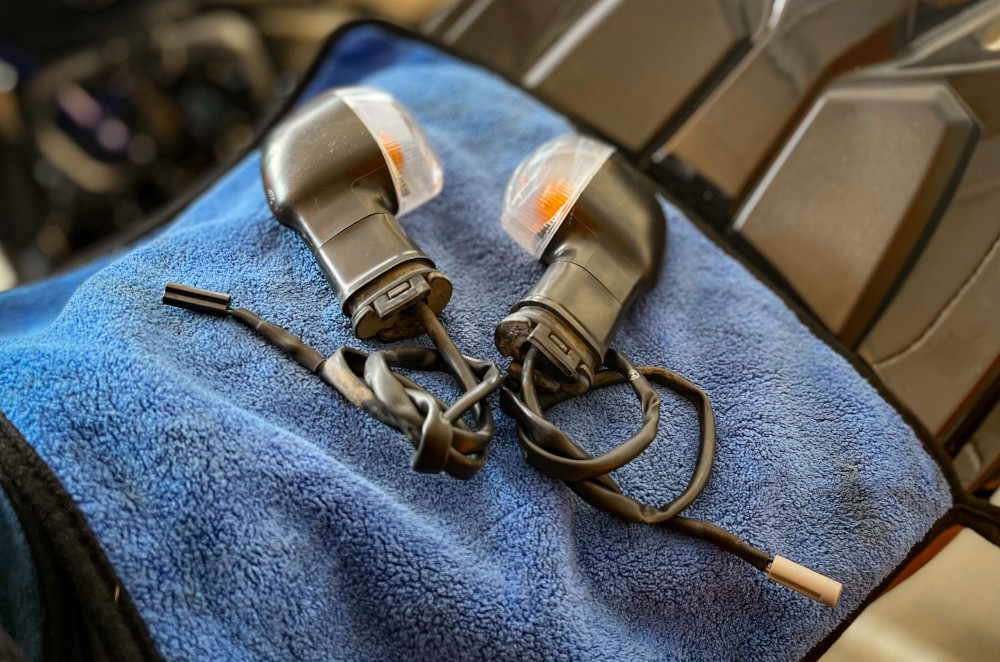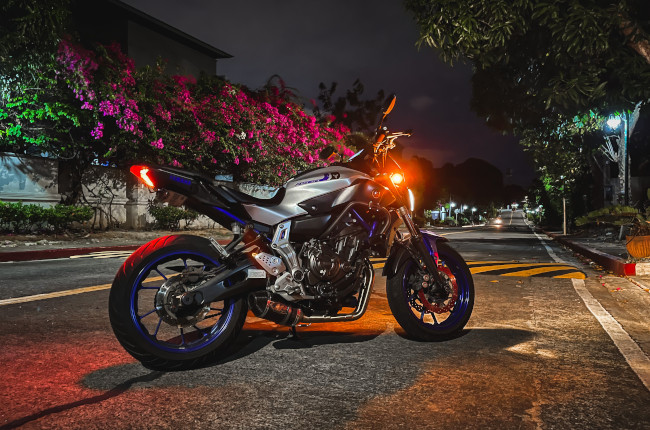
If you’re one who likes to customize or personalize your motorcycle with tasteful and functional upgrades like LED turn signals or mobile phone chargers, or you find yourself in need of replacing damaged electrical components with the need to transfer your stock connectors over, chances are you’ve had to deal with cutting and splicing wires. At first glance, it can seem rather daunting, however, in essence, it’s a rather straightforward job, especially if it’s a simple part like a turn signal.
Regardless of how easy the task may be, it’s always best to make sure to do it right the first time. It saves you the hassle of having to go back and do your work all over again. On top of that, if you’re like us, and want your bike’s wires looking clean and seamless all throughout, splicing your wires correctly keeps things neat and tidy. That said, simply follow the easy steps below to get it right the first time.
Have all the right tools

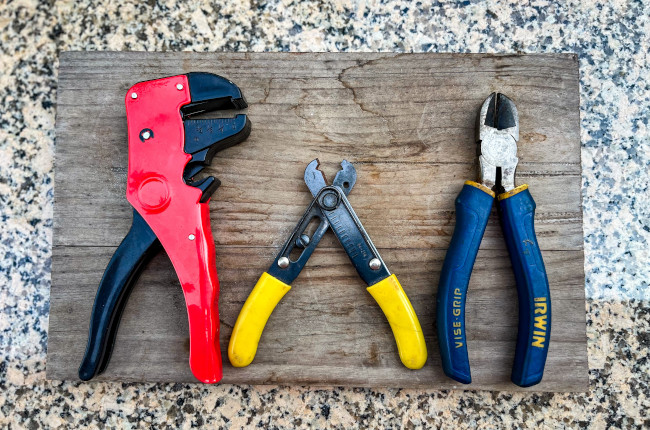
As is the case with all jobs, it’s absolutely essential to have the right set of tools to ensure you get the job done to a tee. Don’t expect to be able to cut and splice your wires with just a pair of scissors. To do it right, you’ll need a wire cutter, insulation stripper, some shrink tubing, a heat gun, and a lot of patience. Yes, you could get away with just a cutter and some electrical tape, but we want to make things look factory fresh now, don’t we?
Get the polarity right

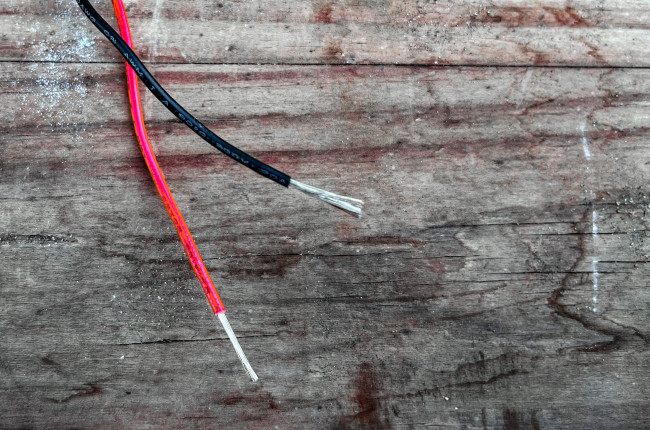
When installing turn signals or other electronic stuff, it’s always important to determine which side is positive, the part that gets power from the bike’s electrical system; and the negative side, or the ground. While most original, branded accessories usually have the positive side wrapped in a red or other brightly colored insulation, and the negative in either a black or dark brown insulation, this isn’t always the case on cheaper parts.
There are many ways to determine which side is positive and negative, the easiest of which would be to check for continuity with a multimeter. If you don’t have a multimeter, simply test it by putting the exposed wires on the terminals of your battery—it’s also best if you have a spare, used battery laying around. Usually, nothing bad happens if you mistakenly invert the polarity of turn signals; they just won’t work. Once you get the polarity squared away, it’s time to splice and dice.
Slice, splice, and test!

You’re going to want to start by cutting the wires to length, and exposing an adequate amount of copper. Do this with an insulation stripper. You can easily buy these tools online or in your nearest hardware store for a couple hundred pesos. It saves you a lot of time and makes sure you get the perfect length, the first time around. At this point, it’s also a good idea to cut the negative and positive wires to different lengths, to make sure that the two spliced areas don’t make unwanted contact in the event that the insulation around the spliced areas fails.
We recommend exposing around 5 to 7 mm of wire in order to get a strong and secure splice. Slide in some shrink tubing before you begin connecting the wires. Position the two wires at a 90-degree and begin twisting tightly and firmly. Once you’re done, slide the shrink tube over the spliced area and apply some heat with a heat gun. You should end up with a very clean and tidy connection. The last step would be to test your new connections and make sure everything’s working as it should.
Related Articles
-
Last-minute Christmas gift ideas for your rider friends and family / Featured Article
Struggling to think of gift ideas for your motorcyclist friends and family? Read on to get some inspiration this gift-giving season.
-
Motorcycle 101: The inner workings of a slipper clutch / Featured Article
Slipper clutches are awesome as they make for more forgiving downshifts and a lighter clutch lever. Let’s take a closer look at them and see how they work.
-
5 things to remember when shopping for new motorcycle tires / Featured Article
Here are 5 things to consider when time comes for you to replace the tires on your motorcycle.
-
5 DIY maintenance jobs that can save you lots of money / Featured Article
Here are 5 do-it-yourself maintenance jobs that you can learn. Doing these maintenance items yourself not only help you learn more about your bike, but will help you save money in the proces...
-
5 things that could save your life during a motorcycle-related emergency / Featured Article
Find out how you can help prepare yourself for a variety of emergencies on the road.
Latest Features
-
Last-minute Christmas gift ideas for your rider friends and family / Featured Article
Struggling to think of gift ideas for your motorcyclist friends and family? Read on to get some inspiration this gift-giving season.
-
Ride a naked sportbike? Get these 5 upgrades first / Featured Article
Here’s a quick list of 5 upgrades to your naked sportbike to enhance your riding experience.
-
Motorcycle 101: The inner workings of a slipper clutch / Featured Article
Slipper clutches are awesome as they make for more forgiving downshifts and a lighter clutch lever. Let’s take a closer look at them and see how they work.


