How to detail your motorcycle at home in 3 easy steps
Get your motorcycle looking showroom-fresh in 2 hours or less.

Ever looked at your motorcycle and thought it would be nice for it to look showroom fresh once again? While there truly is no substitute for a professional detailing job, a home detailing job, with enough effort and attention to detail, can elevate the aesthetic condition of your motorcycle quite substantially—looking nearly new. If you have a bit of time to spare, you may want to consider giving your motorcycle a little bit of tender loving care through a quick home detailing job which can be easily done in 4 easy steps.
1. Wash the motorcycle

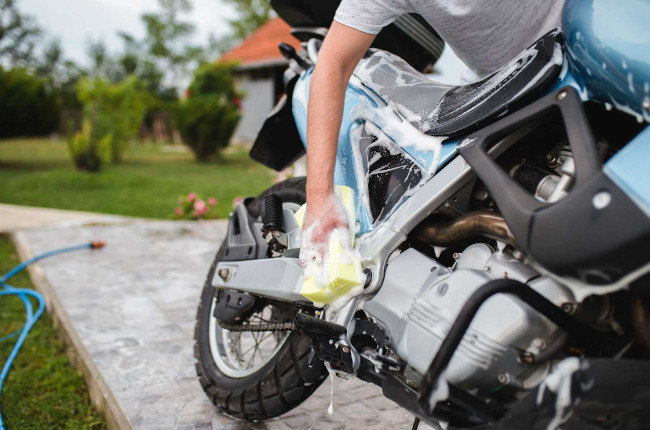
The first step and arguably the most important step of the process would be to give your motorcycle a thorough wash. For this, you will only need water from a hose, car shampoo, two buckets, a microfiber towel for washing, and a chamois towel for drying. For washing your motorcycle, it would be best to avoid high pressure hoses as the high pressure stream of water may end up destroying exposed electrical connectors, old paint, fender decals, and more. A simple garden hose with enough water pressure will be more than enough.
Start off by rinsing your motorcycle down and get every exterior part wet. Afterwards, mix a bit of car shampoo and water in one bucket and fill up another bucket with water. Start cleaning your motorcycle with soapy water and your microfiber towel. Get every nook and cranny as clean as possible. When your towel gets dirty, clean it off in the clean water bucket and not the soapy water bucket in order to keep your soapy water bucket free from old dirt. Make sure to spend as much time on this part as needed since it is fundamental for the success of the next few steps. After your wash, dry your motorcycle thoroughly with a chamois towel.
2. Deep clean

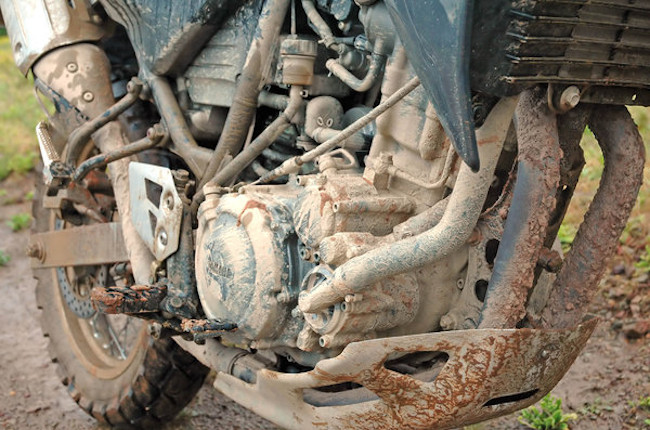
If your motorcycle has racked up many thousands of kilometers on the odometer or has simply seen better days, you may want to consider a deep clean as an additional step in the wash process. Deep cleaning focuses on parts of the motorcycle which are not often washed thoroughly during your normal bike wash routines, or parts that are prone to dirt and road debris that stain. These parts are often the lower fork legs, the brake calipers, the rear swing arm, front fenders and rear tire huggers, underside of the engine, and all the nooks and crannies and creases on your various body parts.
If you want to complete the detailing job with much finesse, we’ve covered a few key points on frame and suspension deep cleaning in another article, but always remember to use quality products and take your sweet time to focus on a quality clean for your precious two-wheeler. After your deep cleaning job, give your motorcycle another quick rinse and dry for the parts you focused on deep cleaning.
3. Protect

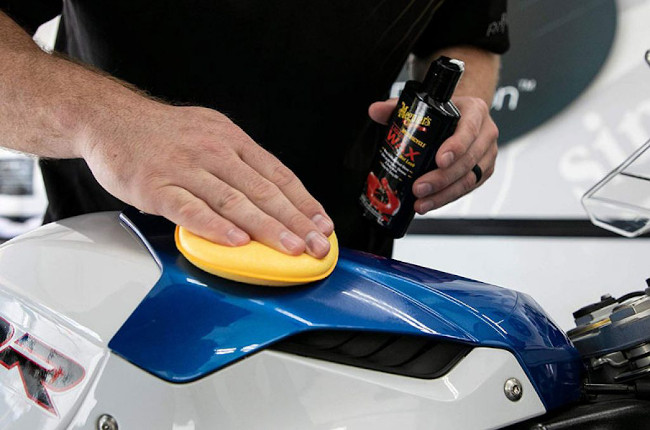
After the various washing, cleaning, and drying tasks, the final touch to your home detailing job would be the protective finish. When waxing complicated surfaces like your wheels, spokes, swing arm, other small components, spray wax would be the most advisable product to use – but often wears out quickly and will need re-application on your next wash. On the flip side, relatively flat and large surfaces like big fairings or an exposed gas tank can benefit from a more traditional wax and buffing job that can be done by hand—waxing, and buffing will provide protection that will last longer despite the added effort.
Whichever method you choose to use for your motorcycle, it’s important to make sure that you follow the instructions for the specific product you’re using. Also, make sure to avoid waxing and spraying parts of the motorcycle which either will get heated or have protective gaskets or o-rings. Examples of the former would be your engine and exhaust, and examples of the latter include your fork legs and your rear shock absorbers. After you’ve finished your protection job, your motorcycle should be clean and looking showroom fresh on your next ride out.
Related Articles
-
5 DIY maintenance jobs that can save you lots of money / Featured Article
Here are 5 do-it-yourself maintenance jobs that you can learn. Doing these maintenance items yourself not only help you learn more about your bike, but will help you save money in the proces...
-
5 things that could save your life during a motorcycle-related emergency / Featured Article
Find out how you can help prepare yourself for a variety of emergencies on the road.
-
These 3 signs tell you it's time for a new chain and sprocket / Featured Article
Never ignore these 3 warning signs that could mean that your bike needs a new chain and sprocket.
-
Follow these 3 tips to extend the service life of your motorbike’s battery / Featured Article
A motorcycle’s battery is considered as the heart of its electrical system, as such, taking good care of your battery can dramatically extend its lifespan.
-
Is your motorcycle out of warranty? Be sure to check these items ASAP / Featured Article
If your motorcycle is out of warranty, it’s now your duty to make sure you stay on top of its maintenance no matter what, or run the risk of facing a hefty repair bill.
Latest Features
-
Last-minute Christmas gift ideas for your rider friends and family / Featured Article
Struggling to think of gift ideas for your motorcyclist friends and family? Read on to get some inspiration this gift-giving season.
-
Ride a naked sportbike? Get these 5 upgrades first / Featured Article
Here’s a quick list of 5 upgrades to your naked sportbike to enhance your riding experience.
-
Motorcycle 101: The inner workings of a slipper clutch / Featured Article
Slipper clutches are awesome as they make for more forgiving downshifts and a lighter clutch lever. Let’s take a closer look at them and see how they work.


